The Cyberdeck Keyboard
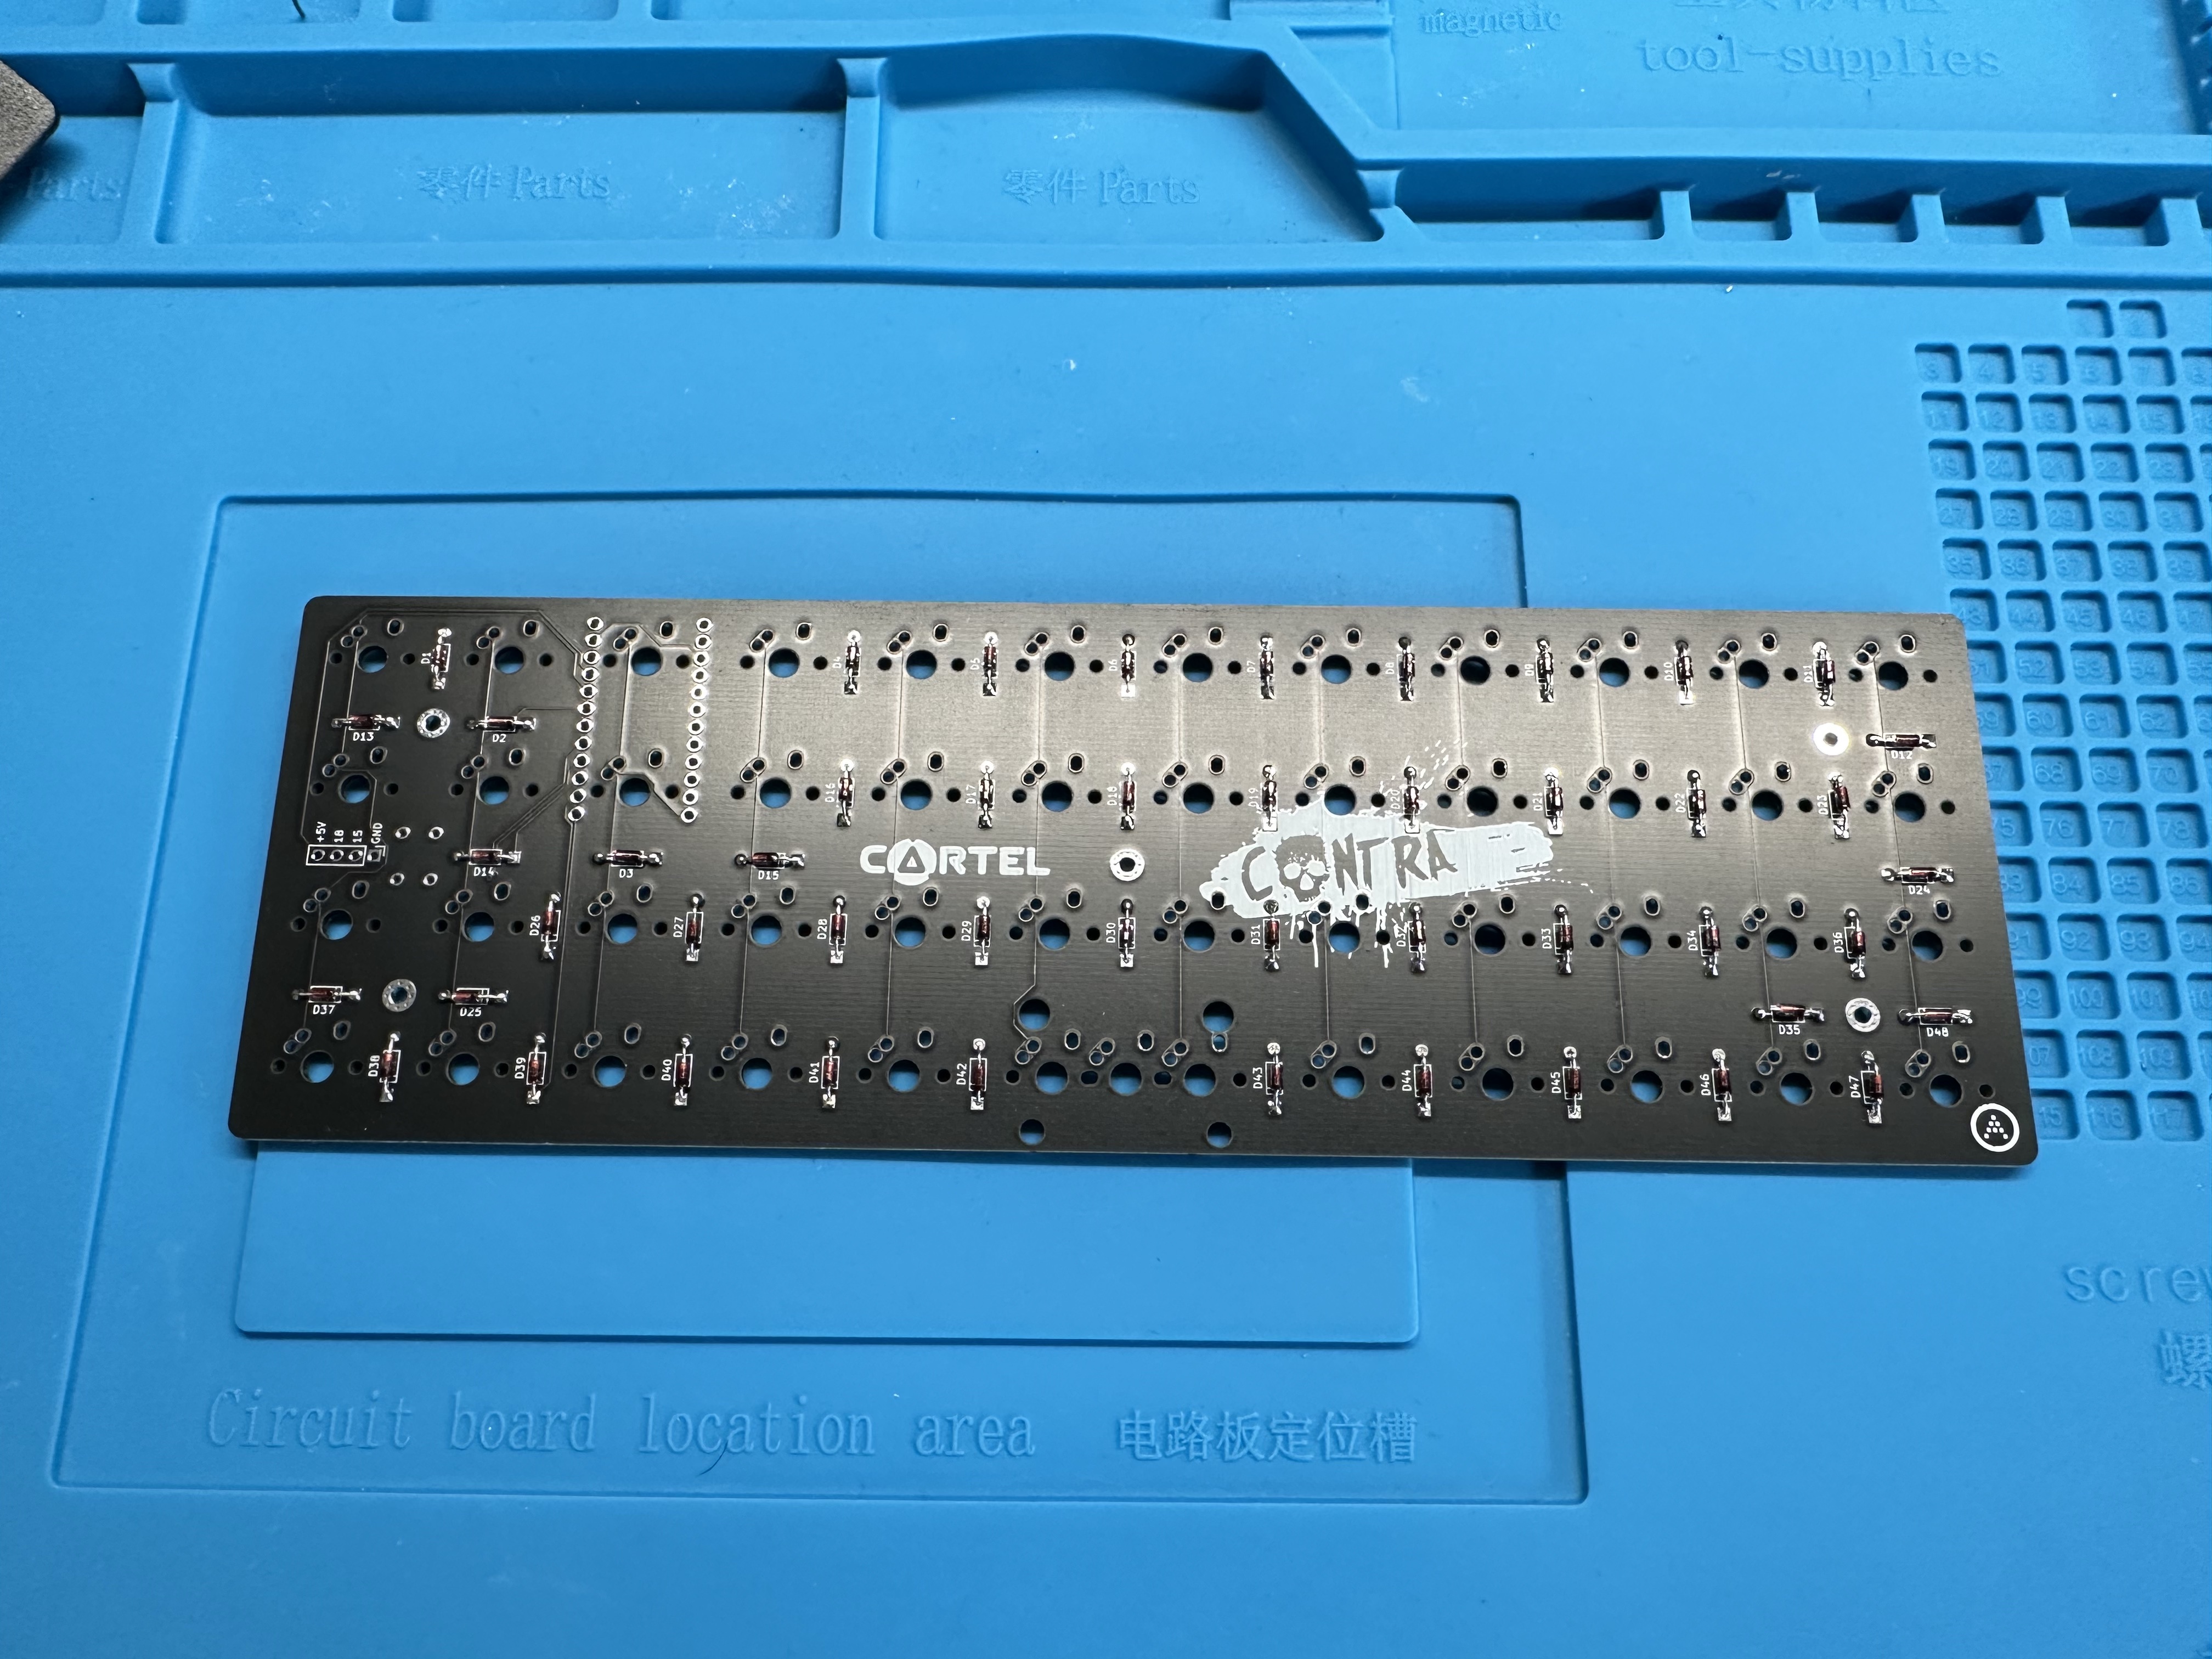
So, continuing on my cyberdeck build, this weekend it was time to build its keyboard. The chosen one was a kit from keebd for a 40% ortholinear, using an rp2040 controller and keycaps I chose from drop. Assembling the kit wasn’t a hard task, which I will list in the bullet point list below:
- Put 48 diodes in the motherboard
- Solder all diodes
- Solder controller header
- Solder reset button
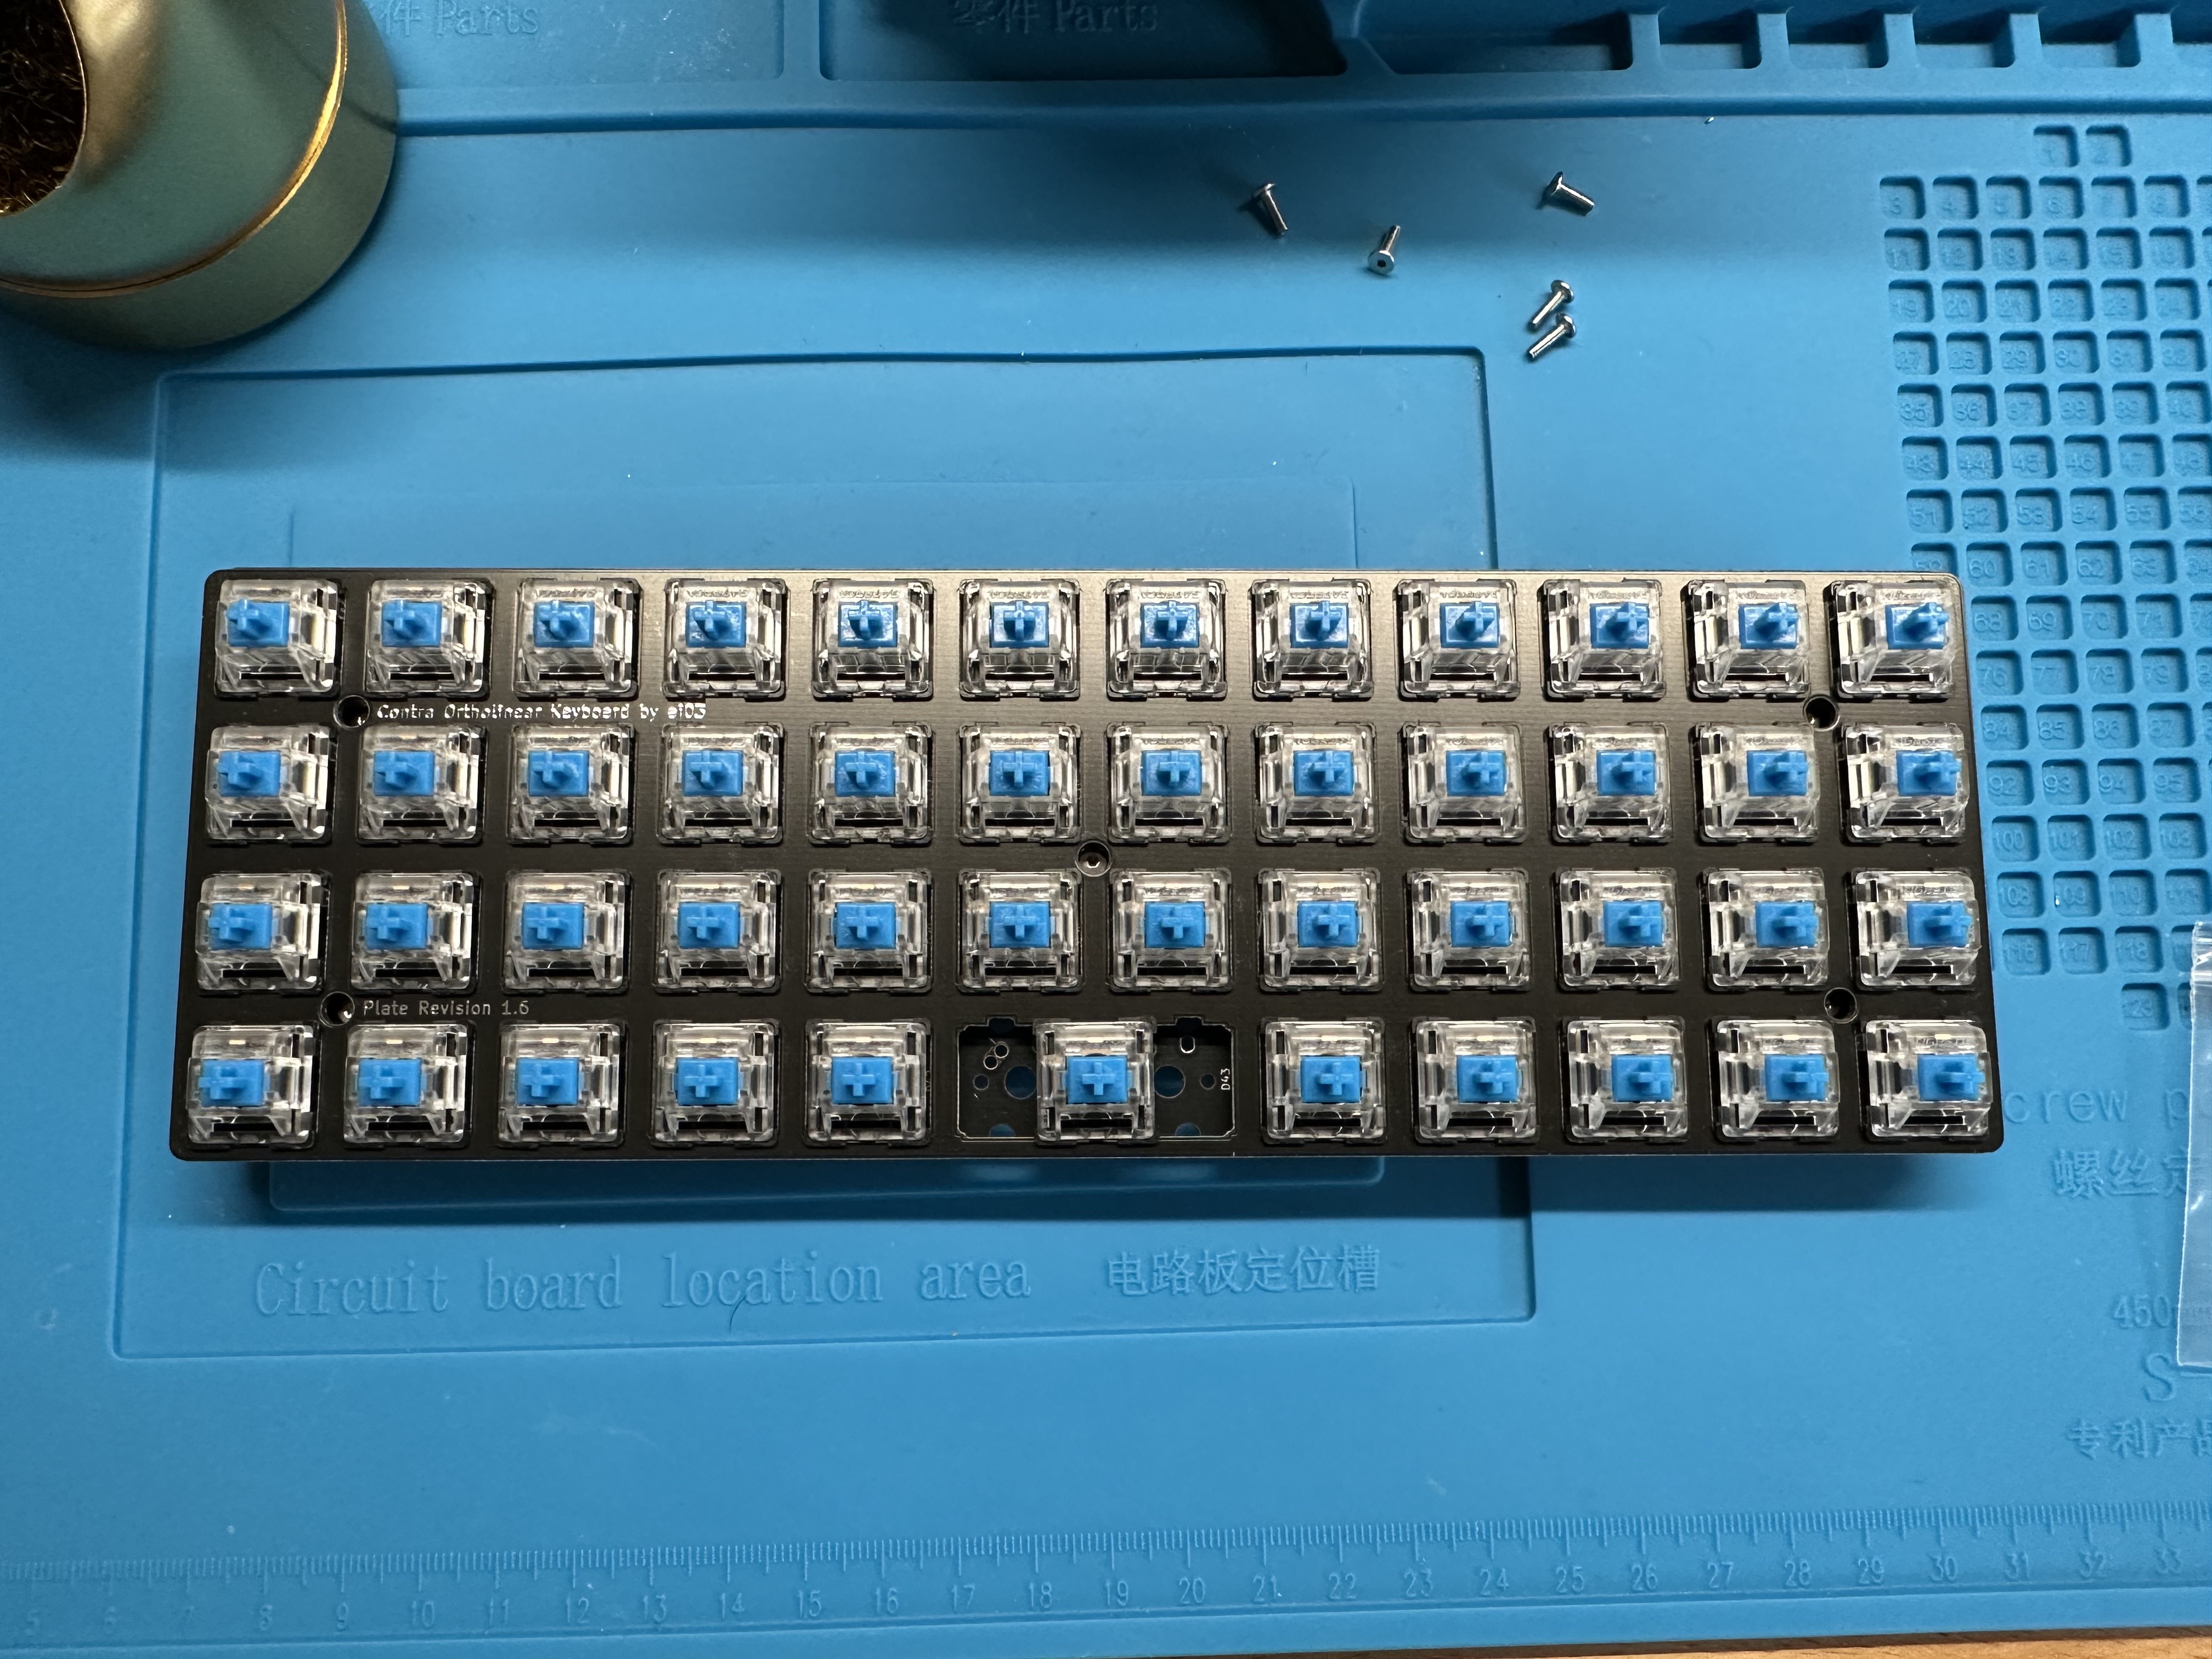
- Fit all 47 key switches with a faceplate (for reinforcement) and the mainboard
- Solder all switches
- Finally solder the controller into the header pins, this part was a little tricky because at first I put too much solder and they bridged together, so I have to use a solder sucker to the rescue
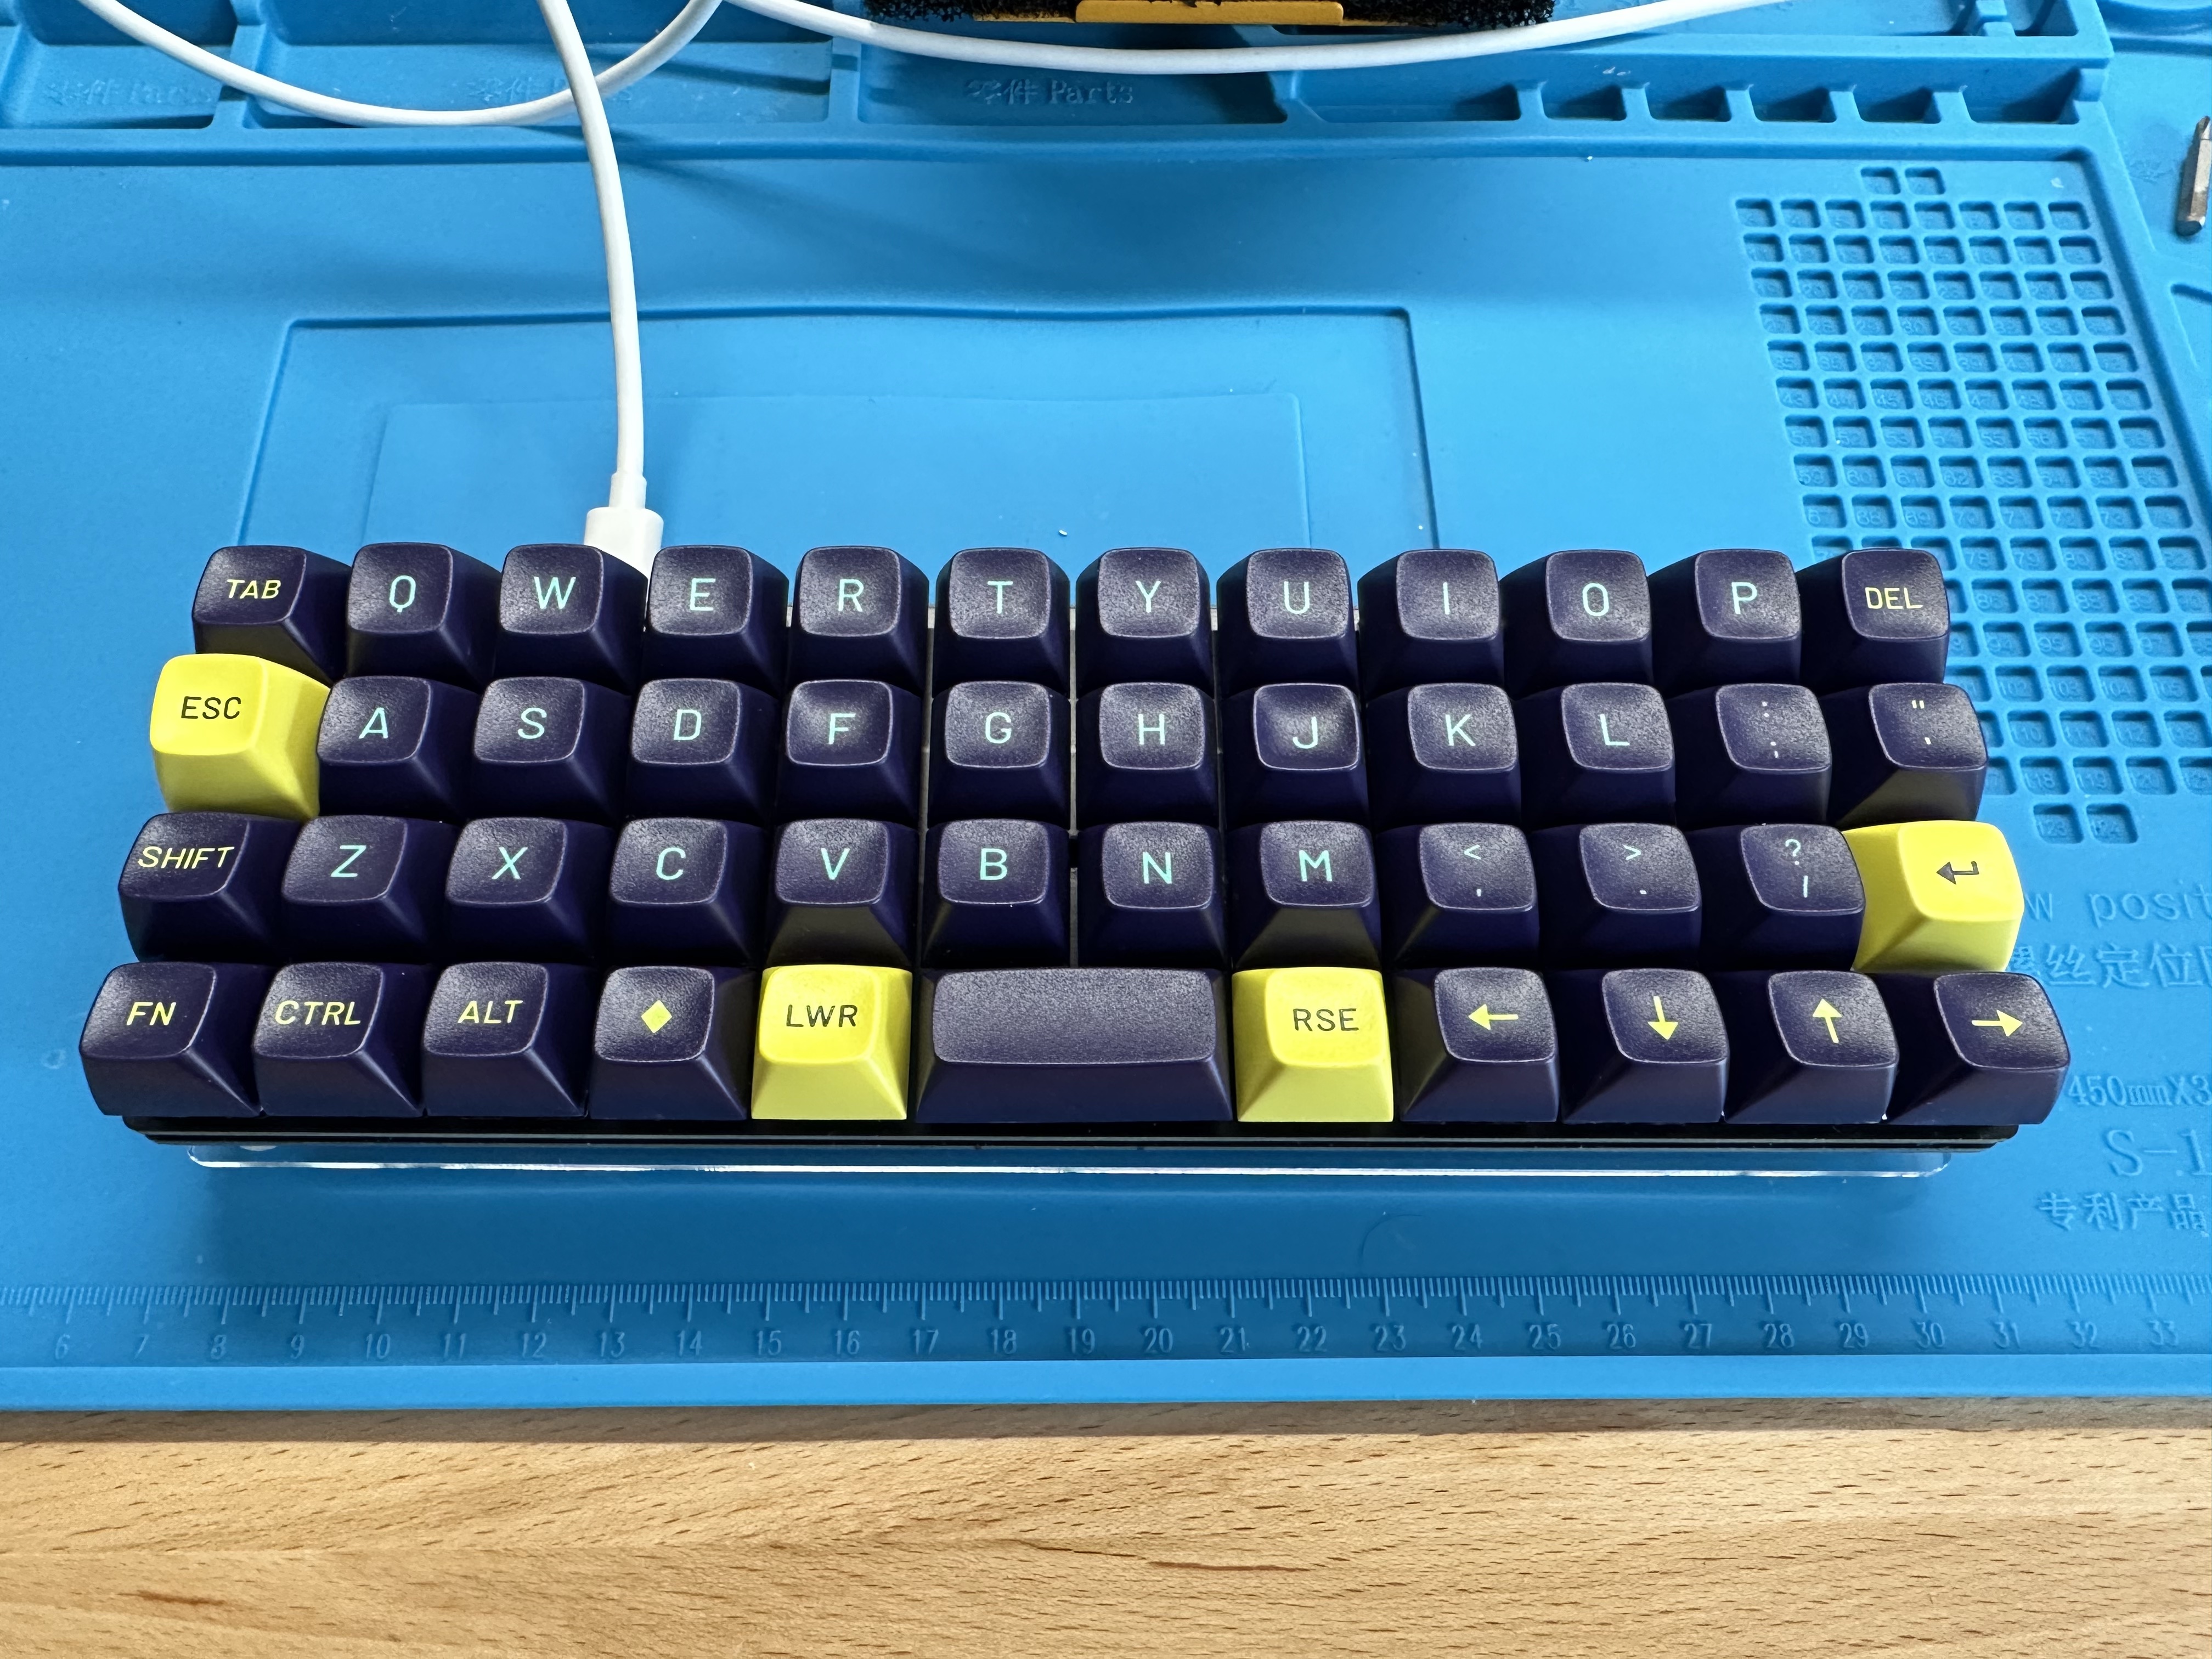
- Add the keycaps
- Last step was putting the acrylic base plate and add the rubber feet
After all the assembly it was time to get it tested! So I hooked it up with a usb-c to usb-a and connected to my Linux machine. With a quick dmesg I found out that it was mounting as a storage device, this is something specific to rp2040. So I browsed through the keebd website and I found the controller firmware, with the download file I just needed to drop it into the storage device and the rasbperry pico automatically rebooted and the keyboard was showing at the dmesg already.
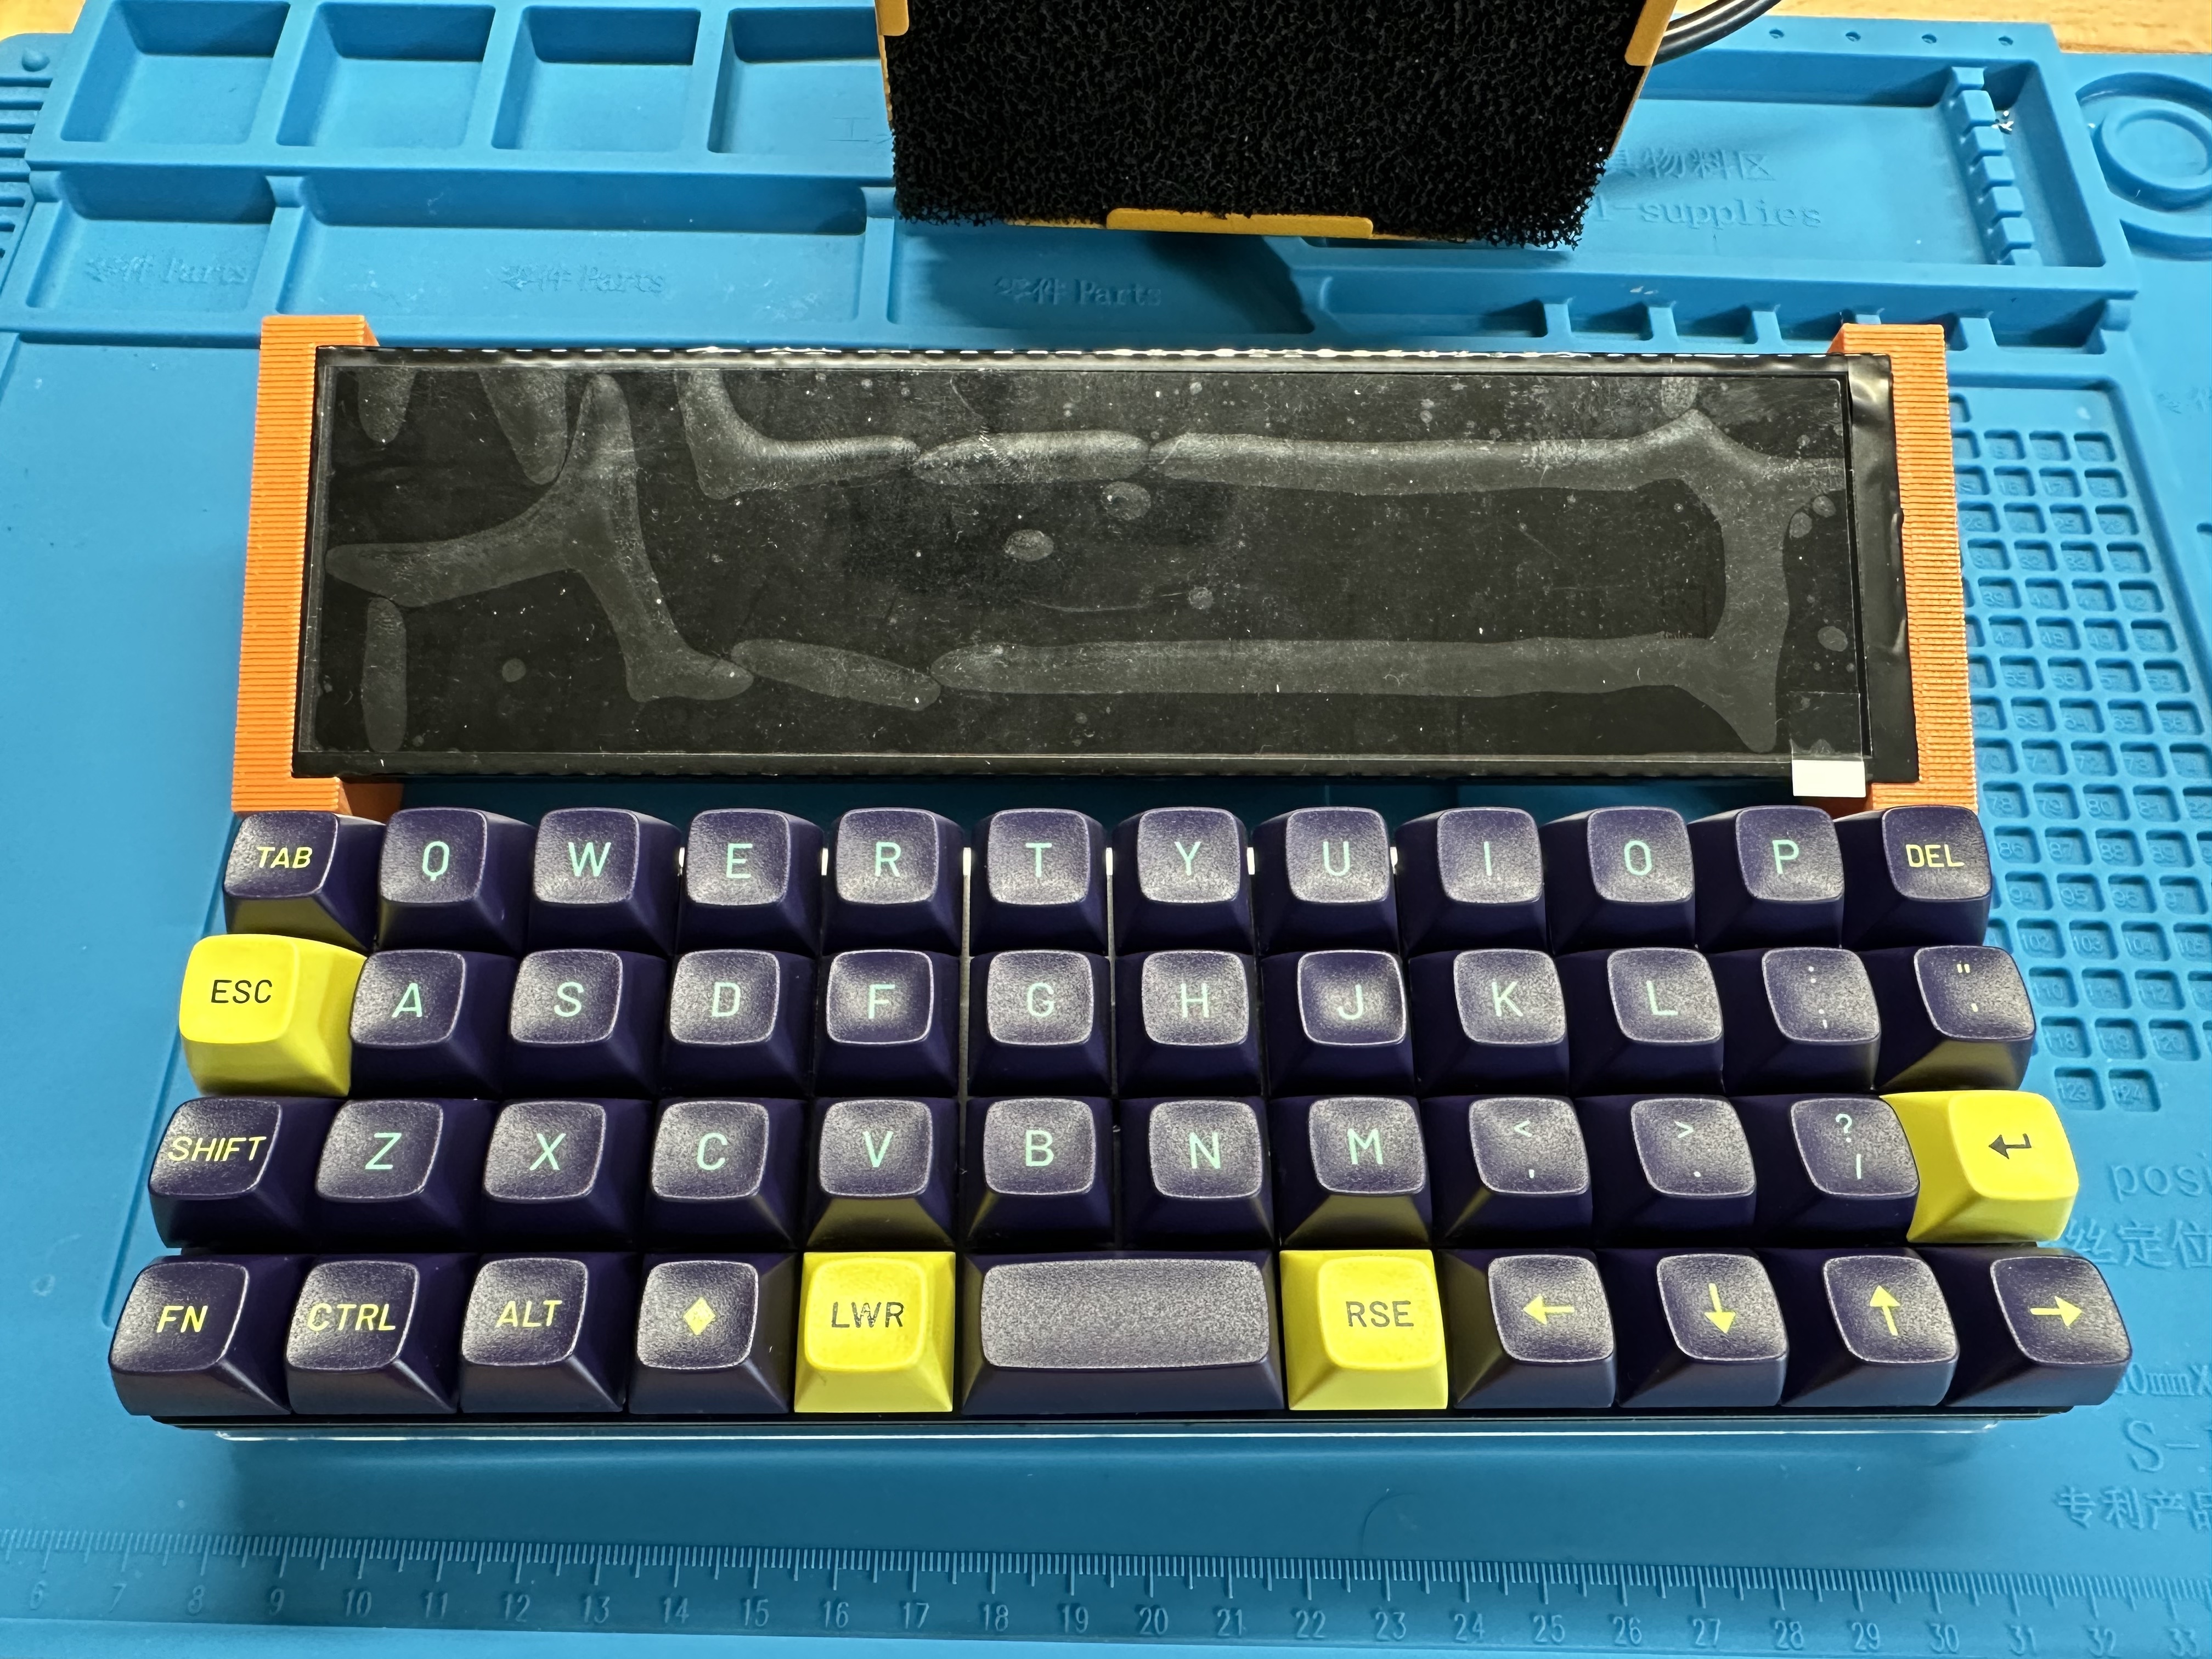
From there I did a quick test to make sure all keys were mapped correctly and working and this is the final result!


I love how the screen and keyboad are pretty much the same size, this will make the final build pretty sick with the case I’m going to design using OpenSCAD.
Let me know on mastodon if you liked it!
See you on the next post