I Am Building a Cyberdeck
Ever since I got myself a 3D printer I’ve been looking for a few projects. I decided to build a cyberdeck and this is going to be good opportunity to learn how to make CAD models. And because tinkering with electronics is something I do as a hobby I think it will be an entertaining project. This is what I decided so far for the project:
- An 8.8 inch screen with 1920x480 resolution
- A Raspberry Pi Zero W 2 for the computing power
- A custom 40% ortholinear custom keyboard to keep the size of the cyberdeck small
- Custom 3D printed case
- A PCB to make a faceplate/bezel for the screen, I think it will look cool and I can put some text/art, perhaps even some function stuff, like on/off LED…
I am not yet set if I want io ports in the cyberdeck, and also if it will have internal battery or if I should just use a portable external battery and have one usb micro port for power/battery.
I’m going to use this blog to document the whole project.
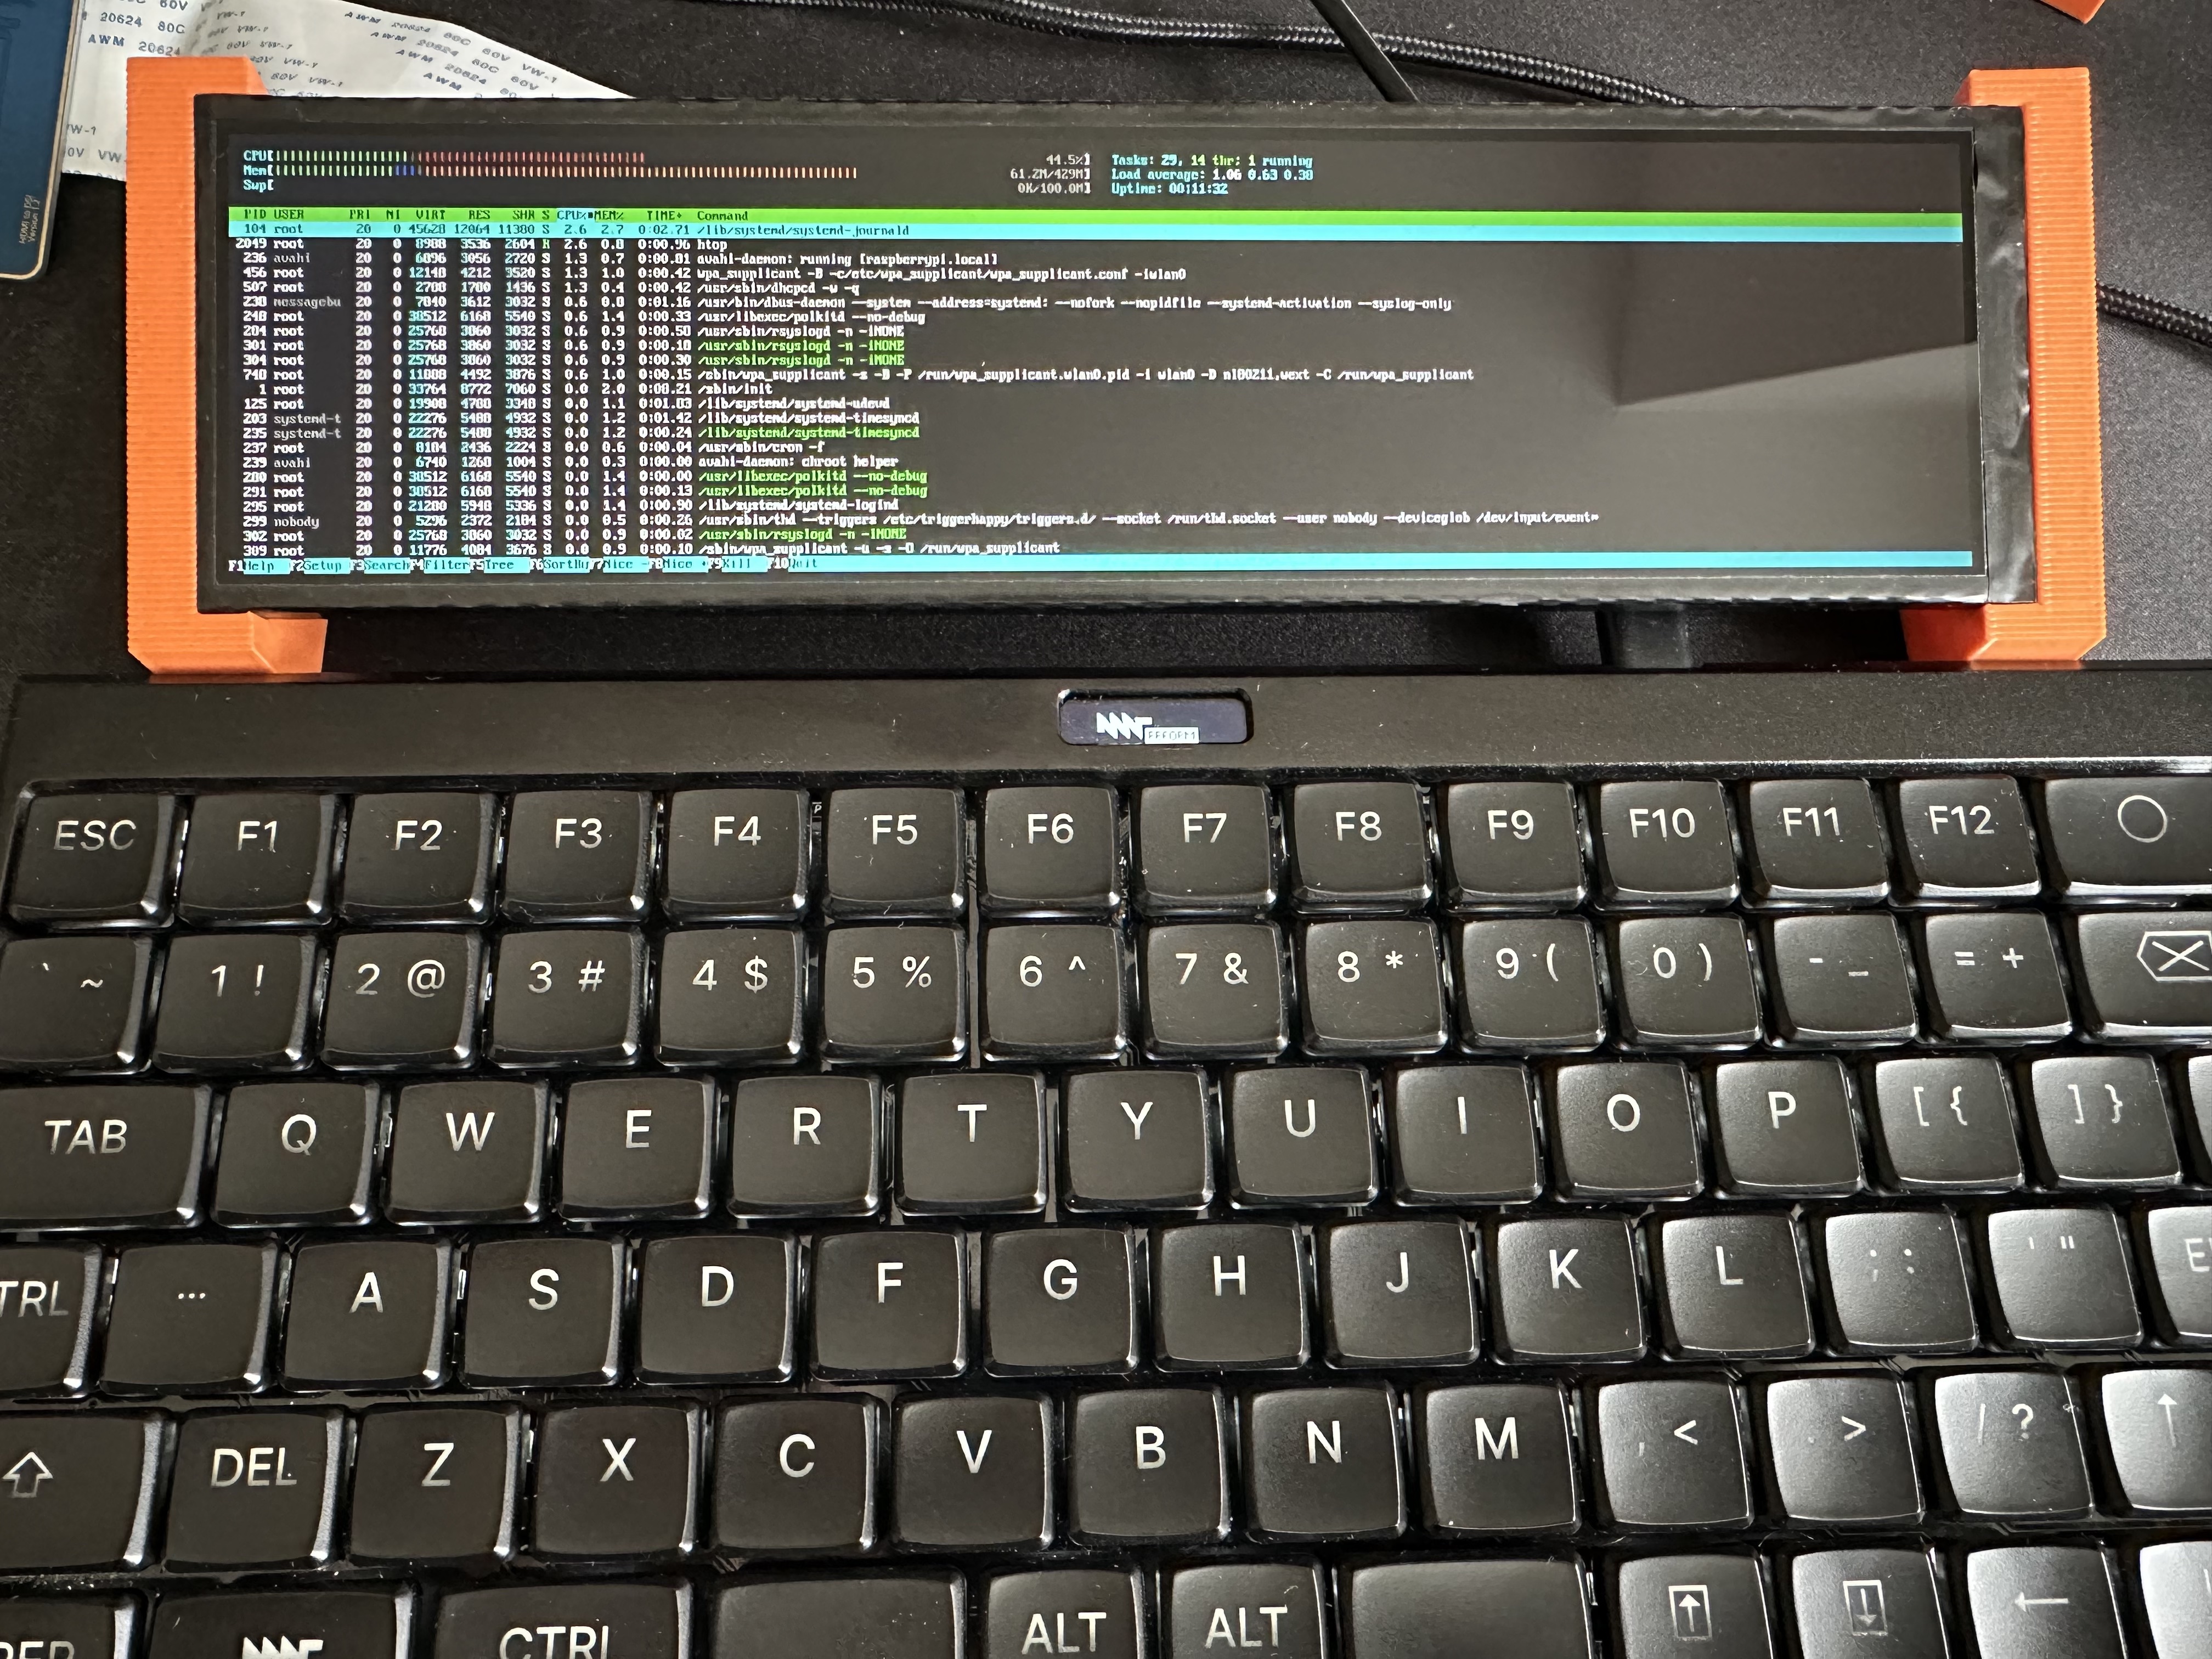
I received the display already in the mail and I had an rpi zero around, so I decided to do a quick bring up:

I had some trouble to get the display running under the raspberry pi so I’m going to paste here what I had to do.
On config.txt I had to add a bunch of configuration:
# /boot/config.txt
max_framebuffer_height=1920
hdmi_ignore_edid=0xa5000080
hdmi_timings=480 1 48 32 80 1920 0 3 10 56 0 0 0 60 0 75840000 3
hdmi_group=2
hdmi_mode=87
hdmi_force_mode=1
hdmi_drive=1
config_hdmi_boost=4
display_hdmi_rotate=0
And the final thing was to append fbcon=rotate:1 to cmdline.txt to get the correct rotation of the display.
And the file ended up looking like this:
# /boot/cmdline.txt
console=serial0,115200 console=tty1 root=PARTUUID=a105aa79-02 rootfstype=ext4 fsck.repair=yes rootwait fbcon=rotate:1
That’s it for today, now I wait for the keyboard parts to get the project going. See you on the next post.